Fuzio in JavaFX
The easiest way to use Fuzio in a JavaFX Gradle project is to clone our pre-configured Gitee repository, where everything is set up and ready to run.
Prerequisites
- Git.
- Java 17 or higher.
- Fuzio license key, or a free trial key.
Getting the project
Clone the Gitee repository using the following command:
git clone https://gitee.com/jiku-technology-dev/fuzio-quickstart-gradle-javafx.git
cd fuzio-quickstart-gradle-javafx
Run the JavaFX application
Use the following command to build and run the JavaFX application:
./gradlew run -Dfuzio.license.key=<your_license_key>
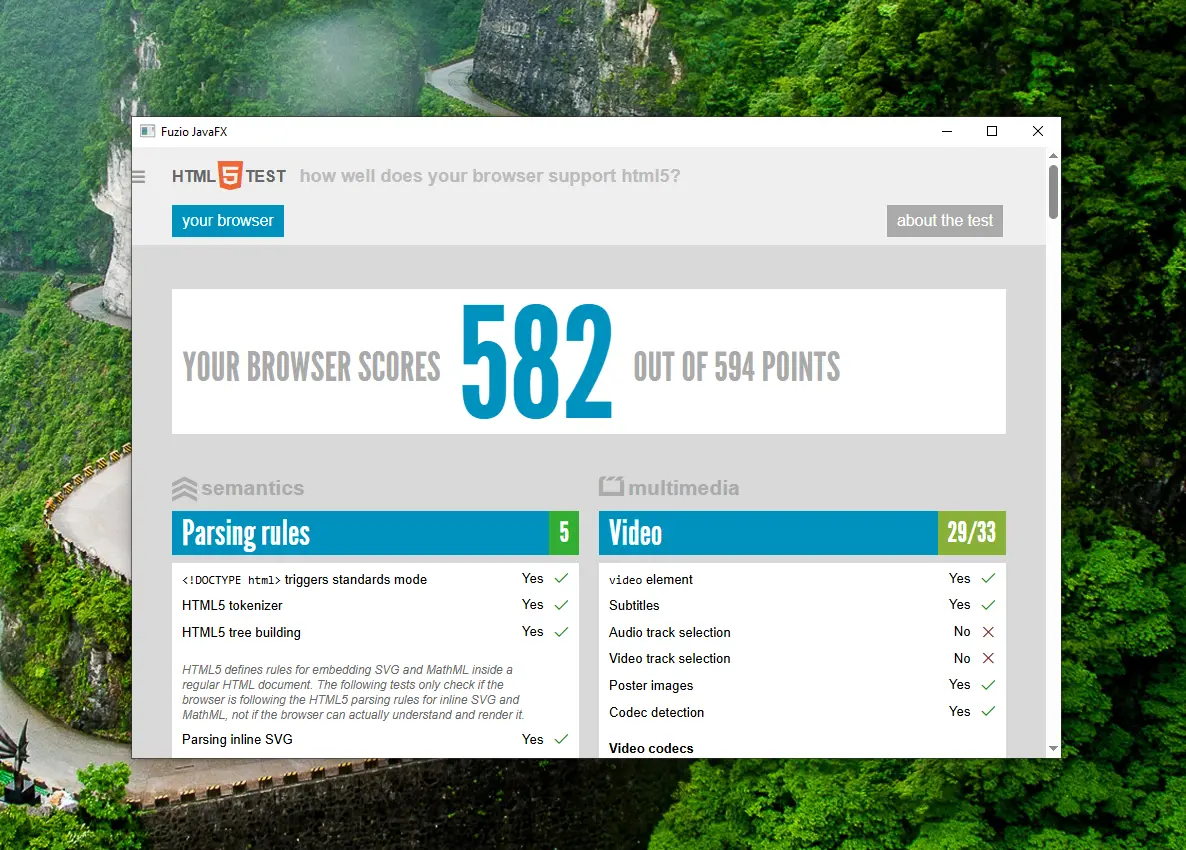
Once launched, you will see a JavaFX application with a BrowserView component displaying https://html5test.jiku.co:
Project overview
This section describes how to configure the Gradle project to include Fuzio, and how to embed the Fuzio BrowserView component into a JavaFX scene to display loaded web content.
Configuring the Gradle project
The Gradle project uses the Fuzio Gradle plugin to add the required Fuzio dependencies and fetch the Chromium binaries for the current platform. The JavaFX Gradle plugin is used to simplify JavaFX integration.
Here is how the build.gradle.kts file is configured:
plugins {
    java
    application
    kotlin("jvm") version "2.0.0"

    // Simplifies JavaFX integration.
    id("org.openjfx.javafxplugin") version "0.1.0"

    // Adds Fuzio dependencies.
    id("tech.fuzio.gradle") version "1.0.0"
}

repositories {
    mavenCentral()
}

fuzio {
    // Use the latest stable Fuzio version.
    version = "2026.3.0"
}

dependencies {
    // Detects the current platform and fetches the corresponding Chromium binaries.
    implementation(fuzio.currentPlatform)

    // Adds a dependency on the JavaFX UI toolkit integration.
    implementation(fuzio.javafx)

    // Adds a dependency on the Fuzio Kotlin DSL.
    implementation(fuzio.kotlin)
}

javafx {
    modules("javafx.controls")
}

application {
    // Define the main class for the Java application.
    mainClass.set("tech.fuzio.quickstart.gradle.javafx.App")

    // Alternatively, you can run the Kotlin example:
    // mainClass.set("tech.fuzio.quickstart.gradle.javafx.AppKt")
}

tasks.withType<JavaExec> {
    // Assign all Java system properties from the command line
    // to the JavaExec task in order to pass the Fuzio license key.
    systemProperties(System.getProperties().mapKeys { it.key as String })
}
Embedding Fuzio into JavaFX
There are two JavaFX app implementations in the project: Java and Kotlin.
Both implementations are similar and demonstrate how to:
- Initialize an
Engine(Chromium) instance. - Create a
Browserinstance. - Load the required web page.
- Embed a web view component into a JavaFX scene to display the loaded web page:
import static tech.fuzio.engine.RenderingMode.HARDWARE_ACCELERATED;

import tech.fuzio.engine.Engine;
import tech.fuzio.view.javafx.BrowserView;
import javafx.application.Application;
import javafx.scene.Scene;
import javafx.scene.layout.BorderPane;
import javafx.stage.Stage;

public final class JavaFxApp extends Application {

    @Override
    public void start(Stage primaryStage) {
        // Initialize Chromium.
        var engine = Engine.newInstance(HARDWARE_ACCELERATED);

        // Create a Browser instance and load the required web page.
        var browser = engine.newBrowser();
        browser.navigation().loadUrl("https://html5test.jiku.co");

        // Create and embed JavaFX BrowserView component to display web content.
        var view = BrowserView.newInstance(browser);

        var scene = new Scene(new BorderPane(view), 1280, 800);
        primaryStage.setTitle("Fuzio JavaFX");
        primaryStage.setScene(scene);
        primaryStage.show();

        // Shutdown Chromium and release allocated resources.
        primaryStage.setOnCloseRequest(event -> engine.close());
    }
}
import tech.fuzio.dsl.Engine
import tech.fuzio.engine.RenderingMode.HARDWARE_ACCELERATED
import tech.fuzio.view.javafx.BrowserView
import javafx.application.Application
import javafx.scene.Scene
import javafx.scene.layout.BorderPane
import javafx.stage.Stage

class KotlinApp : Application() {
    override fun start(primaryStage: Stage) {
        // Initialize Chromium.
        val engine = Engine(HARDWARE_ACCELERATED)

        // Create a Browser instance and load the required web page.
        val browser = engine.newBrowser()
        browser.navigation().loadUrl("https://html5test.jiku.co")

        // Create and embed JavaFX BrowserView component to display web content.
        val view = BrowserView.newInstance(browser)

        val scene = Scene(BorderPane(view), 1280.0, 800.0)
        primaryStage.title = "Fuzio JavaFX"
        primaryStage.scene = scene
        primaryStage.show()

        // Shutdown Chromium and release allocated resources.
        primaryStage.setOnCloseRequest { engine.close() }
    }

    fun run() {
        launch()
    }
}

fun main() {
    KotlinApp().run()
}
What’s next
- Learn more about how to add Fuzio to a Gradle project.
- Read about how to embed Fuzio into a JavaFX app.
- Discover all Fuzio features by checking out our guides.